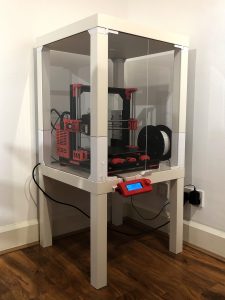
It is a remixed version of the Prusa Enclosure released by Mikolas Zuza. Thanks to him for publishing this valuable work. We have changed a lot of stuff actually and corrected some size issues as well.
All the STL parts can be found on this link. We also released the cad files so anyone can alter the design according to their needs. We didn’t include mods such as Led lighting, PSU Lack Mount, Smoke Detector, etc. There are many options around for these mods so you are free to choose. We also tried to use as less screws as we can. Lack tables are reuseable if you change your mind in future.
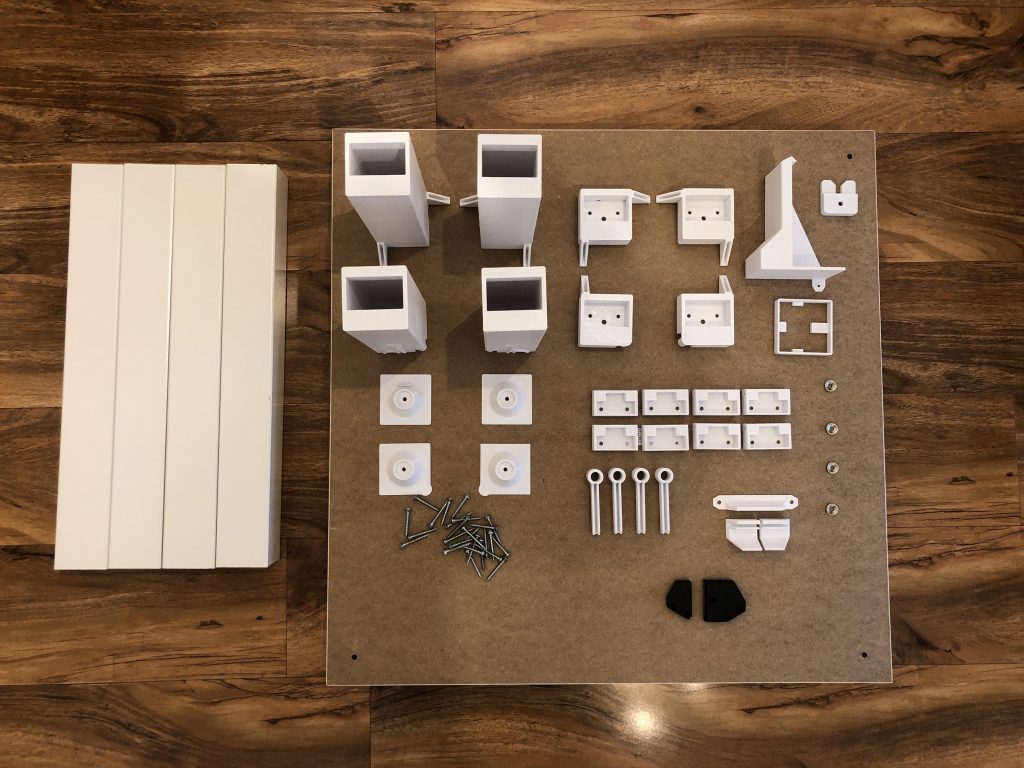
Parts needed:
– Plastic Parts (Thingiverse)
– Ikea Lack Table x 2
– 600 x 440 x 3 mm Clear Transparent Plexiglass for Sides x 3
– 600 x 220 x 3 mm Clear Transparent Plexiglass for Doors x 2
– M3 x 14 mm Socket Cap Screws x 16
– M3 Square Nuts x 16
– M4 x 20 mm Wood Screws x 24
– 12 x 3 mm Round Disc Neodymium Magnets x 4
– Double-Sided Tape
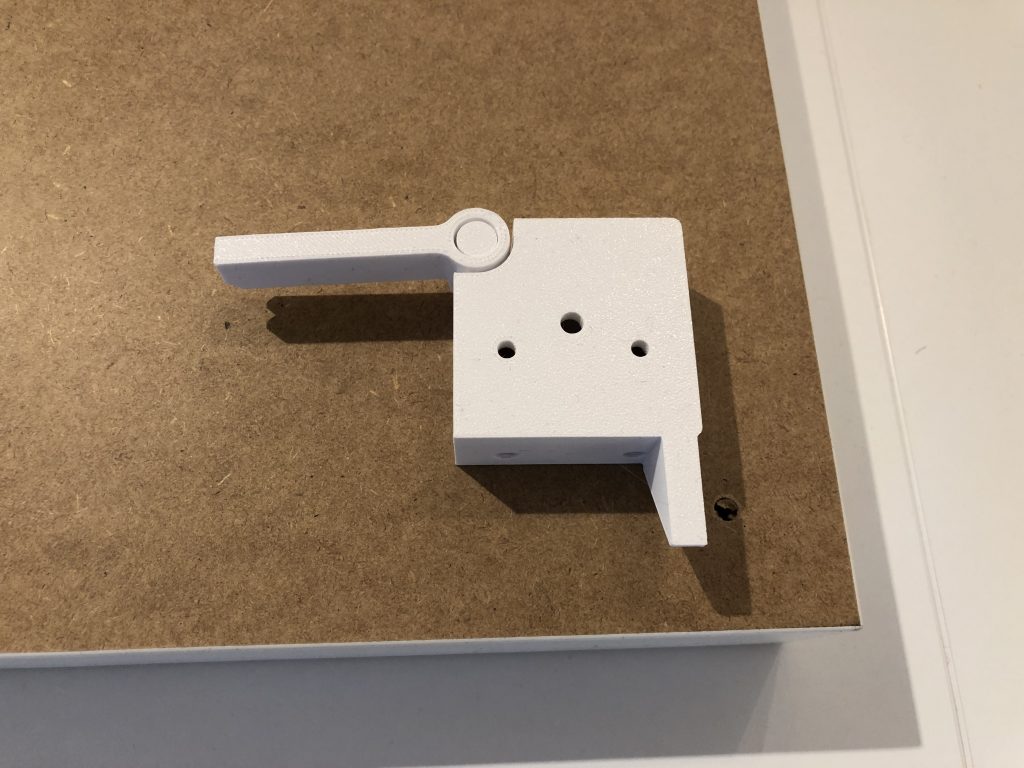
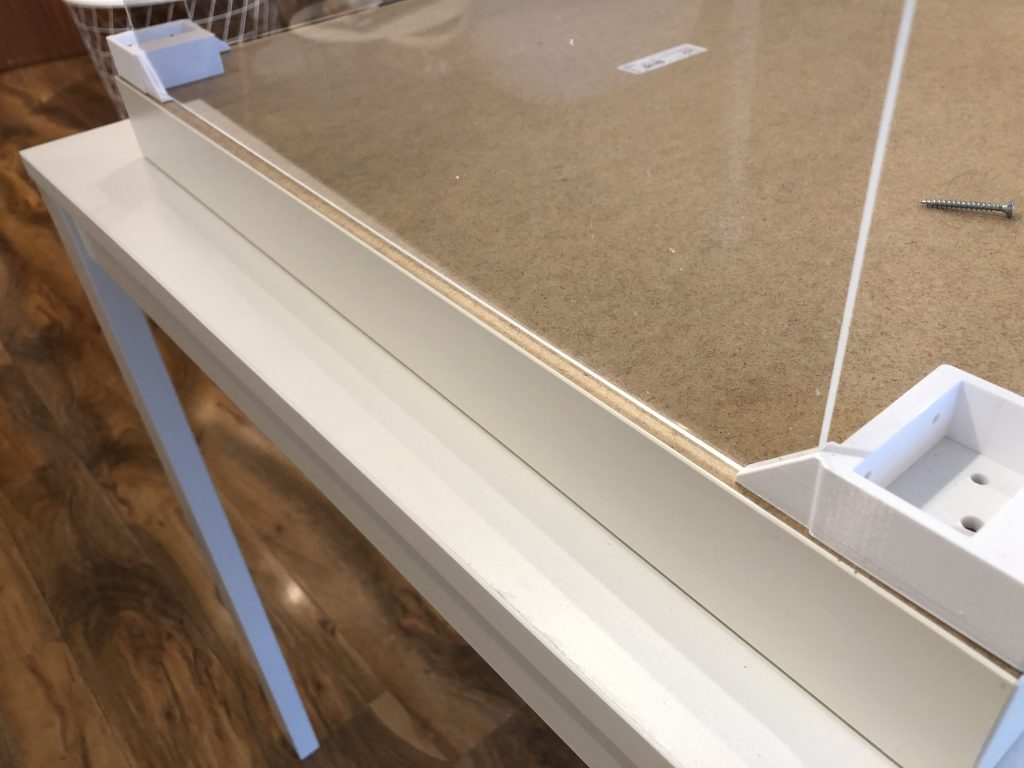
Install the top left hinge as seen on the picture
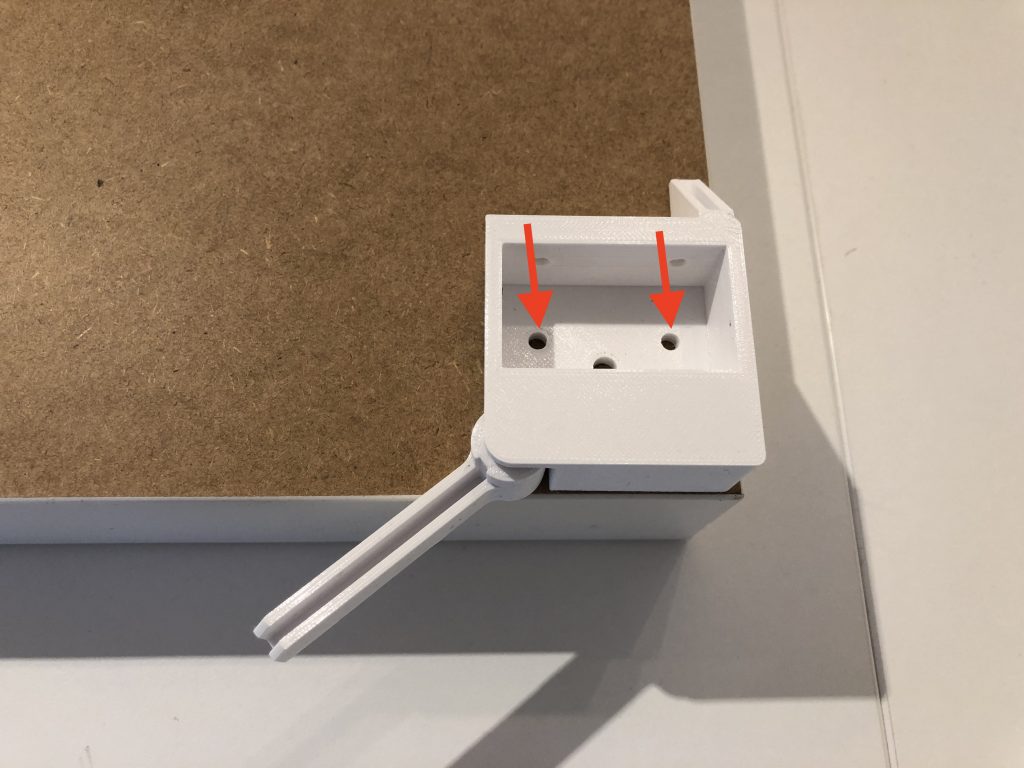
Use the wood screws to fasten to the table top. This is the top left corner as we are seing it upside down in the picture. Recommended: Use only one screw to fasten for the beggining thus you can align and correct any imperfections on the pre cut plexiglass later.
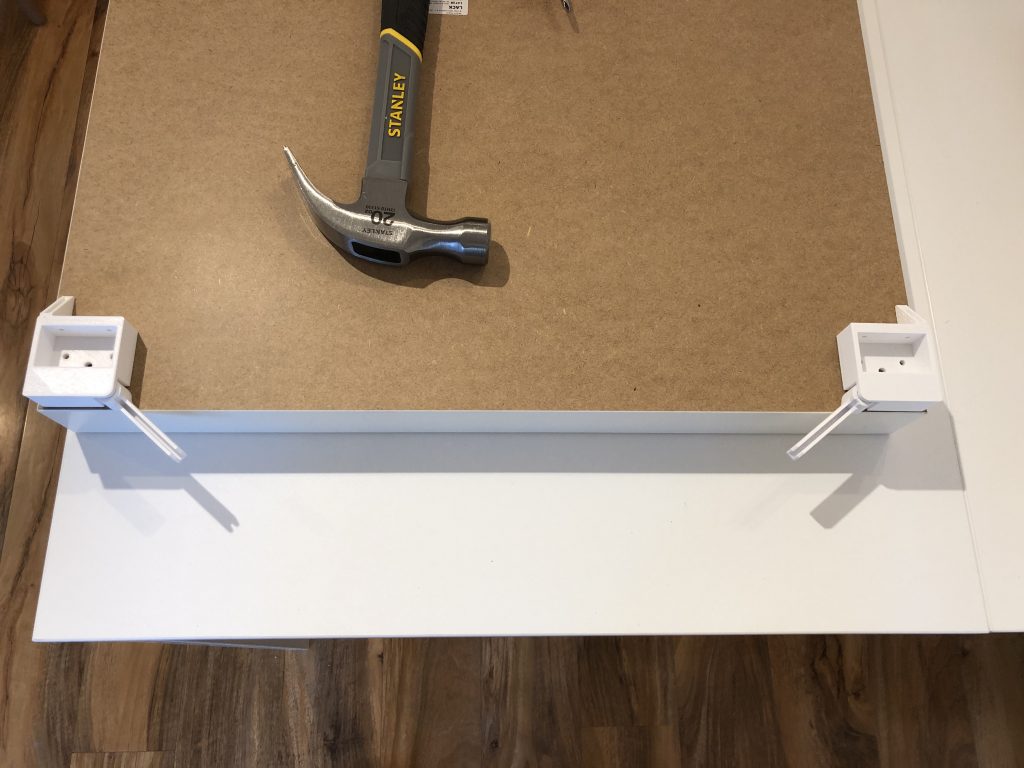
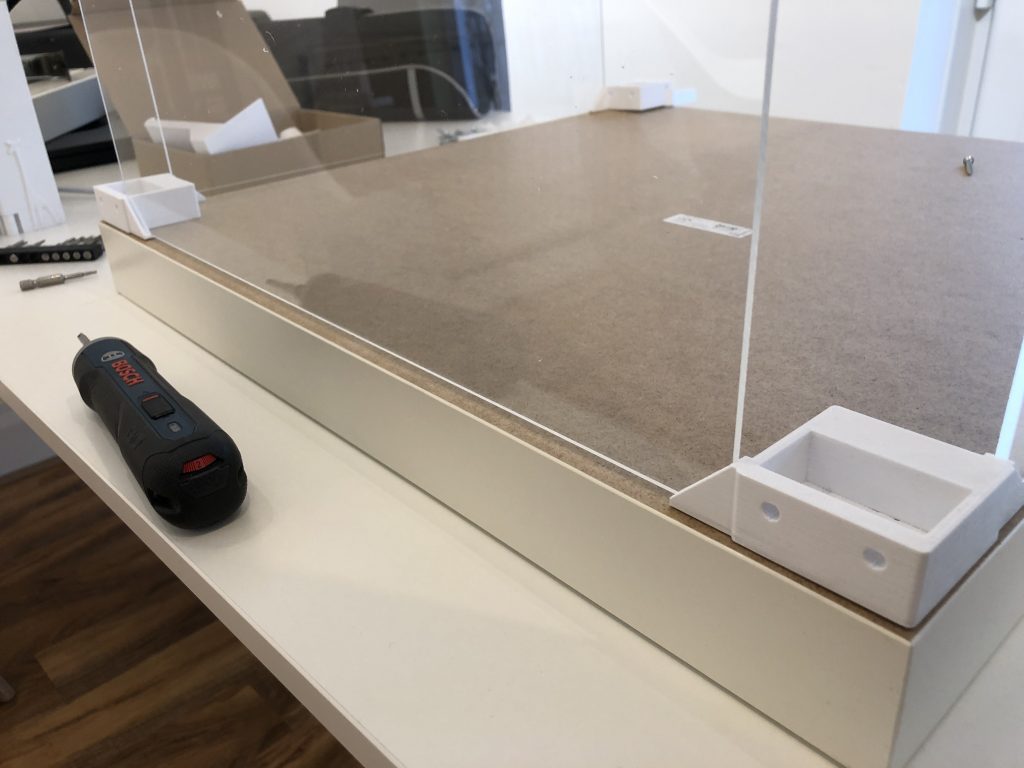
Do the same for the opposite side.
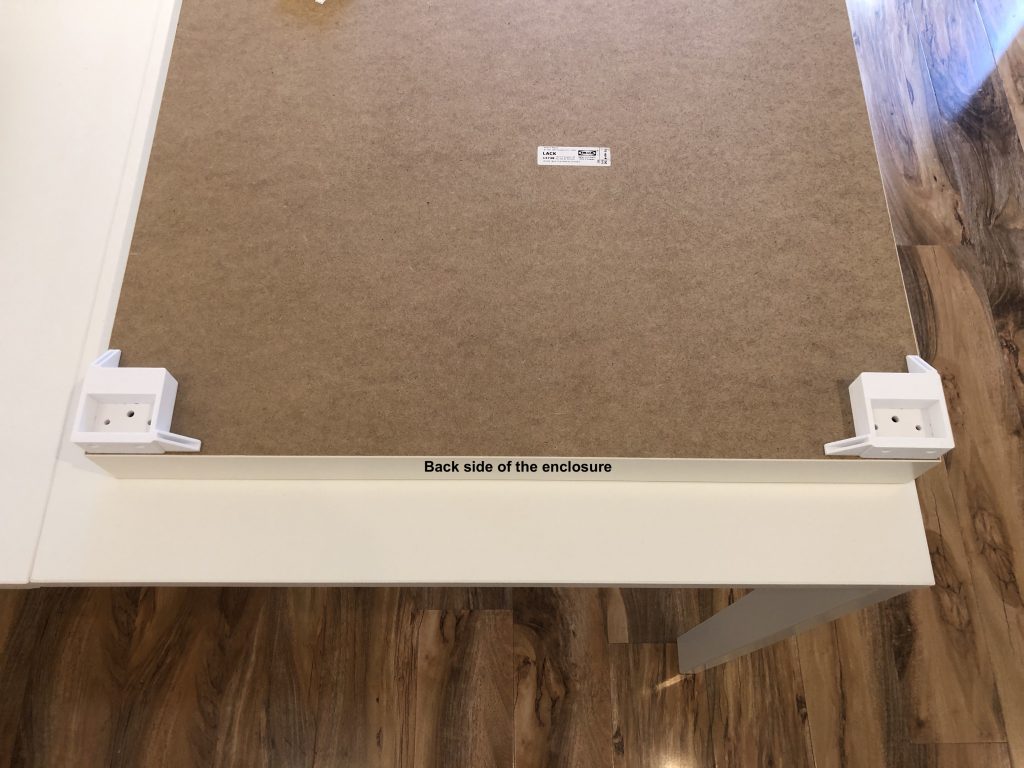
Now install the back top parts as seen in the picture. Remember to use only one wood screw for now for easy alignment later.
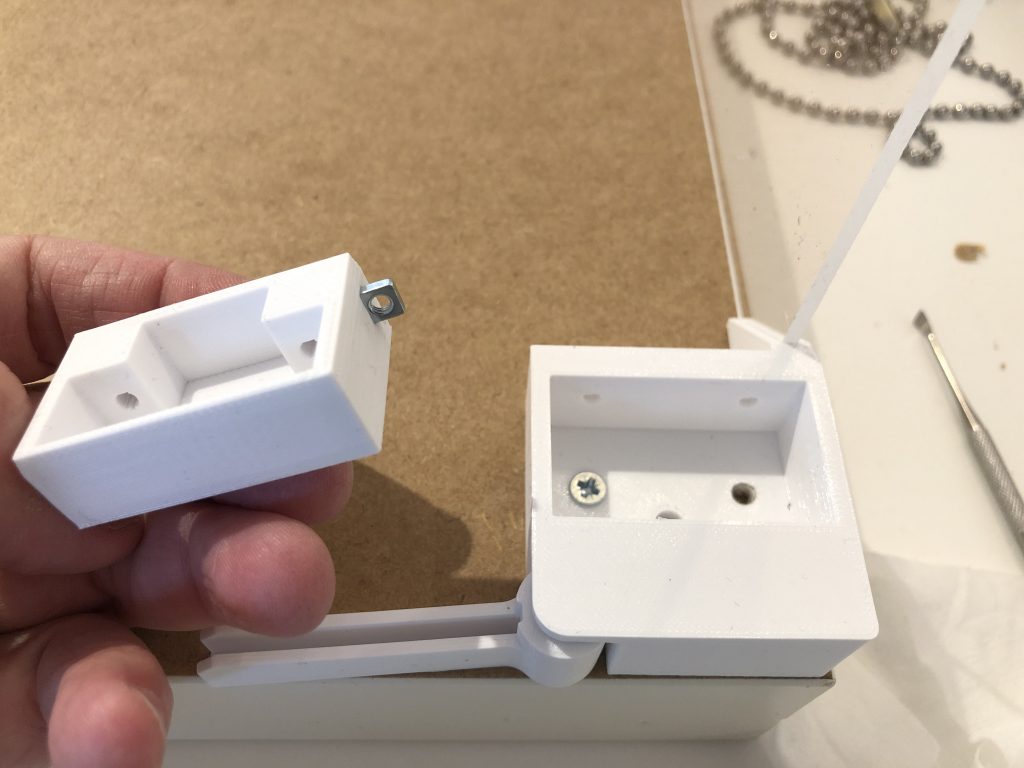
Insert square nuts to both sides of the hidden joints.
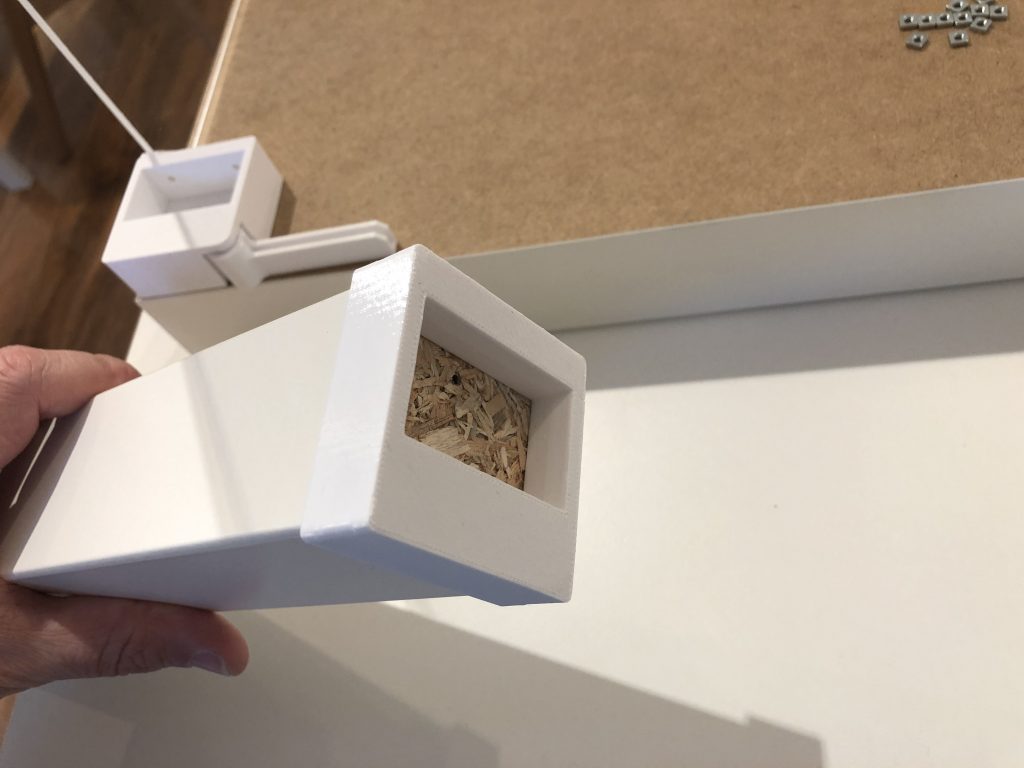
Use the alignment tool as seen in the picture.
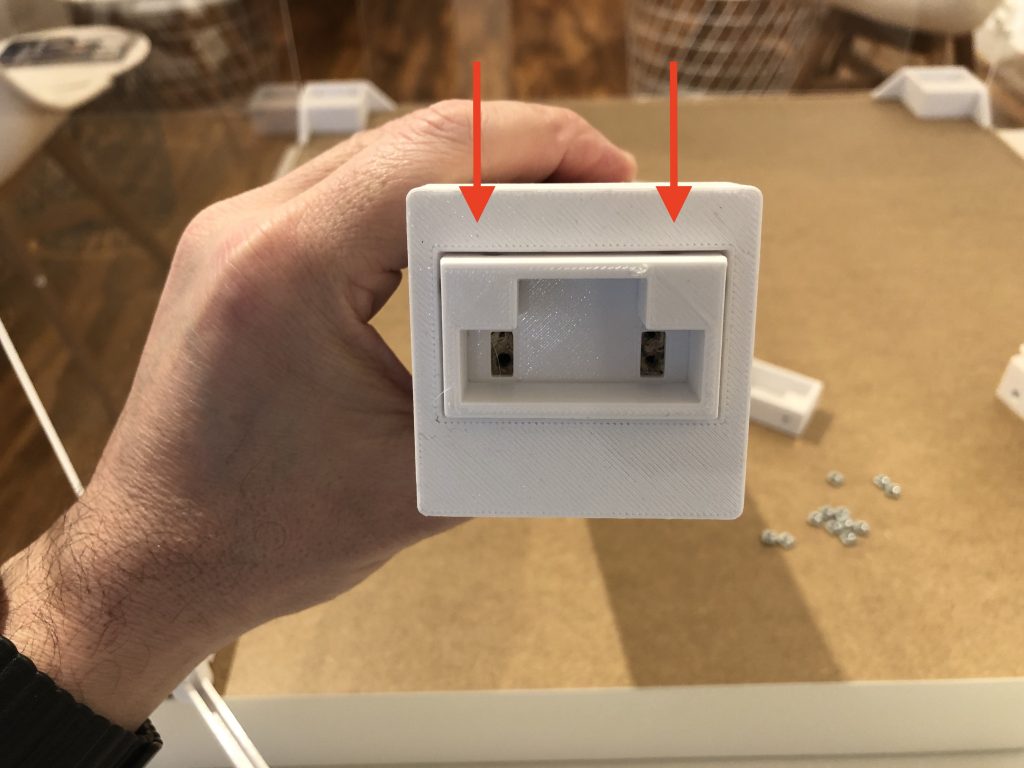
Insert the hidden joint in the socket. Holes should be faced to the narrow part of the aligner.
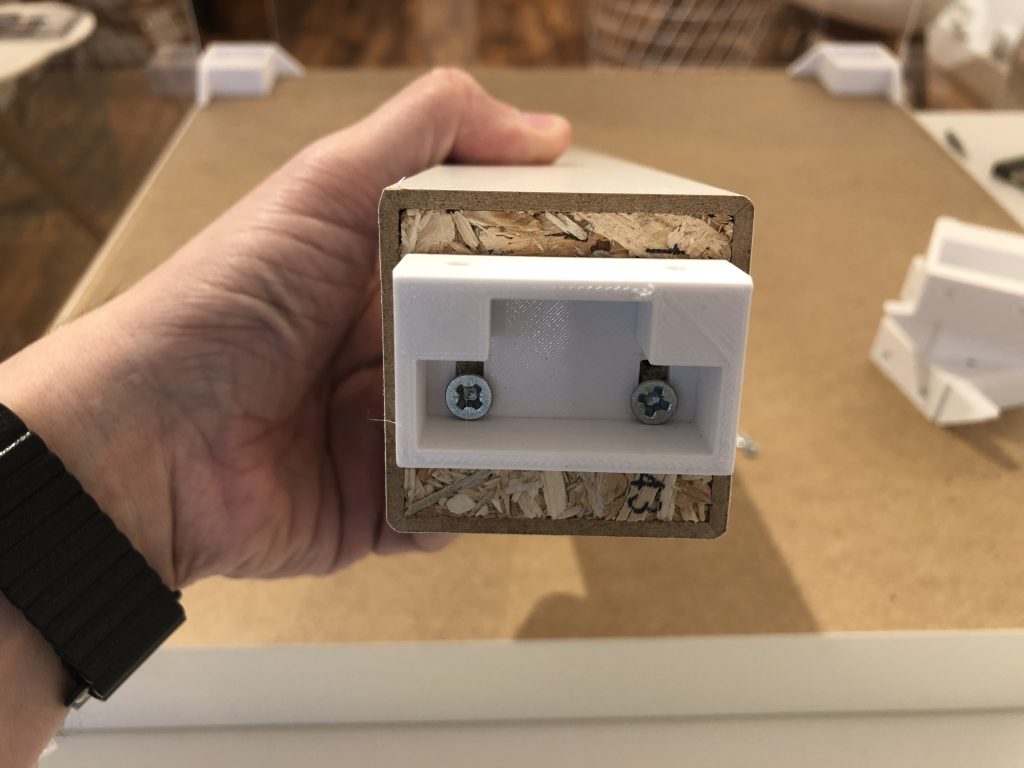
Do not overtighten the screws and leave space to be able to move the joint back and forth if necessary.
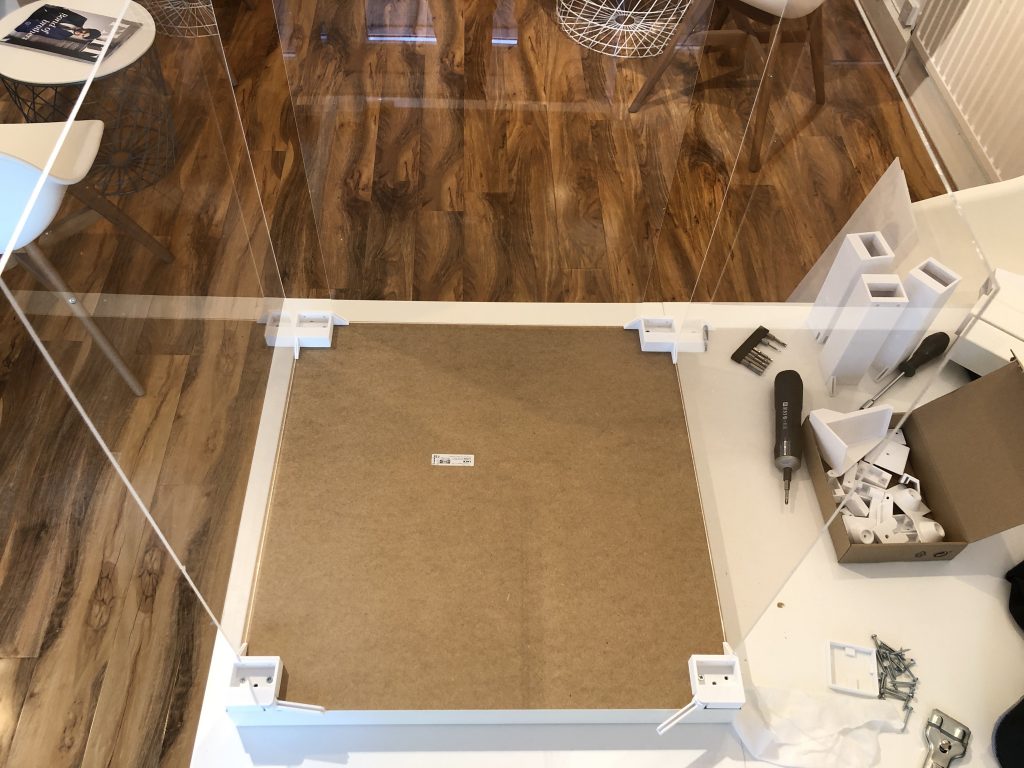
Now you can insert the plexiglasses and check the alignment of the corners. If everything okay, you can screw the second screws on the corner parts to fix them in their position.
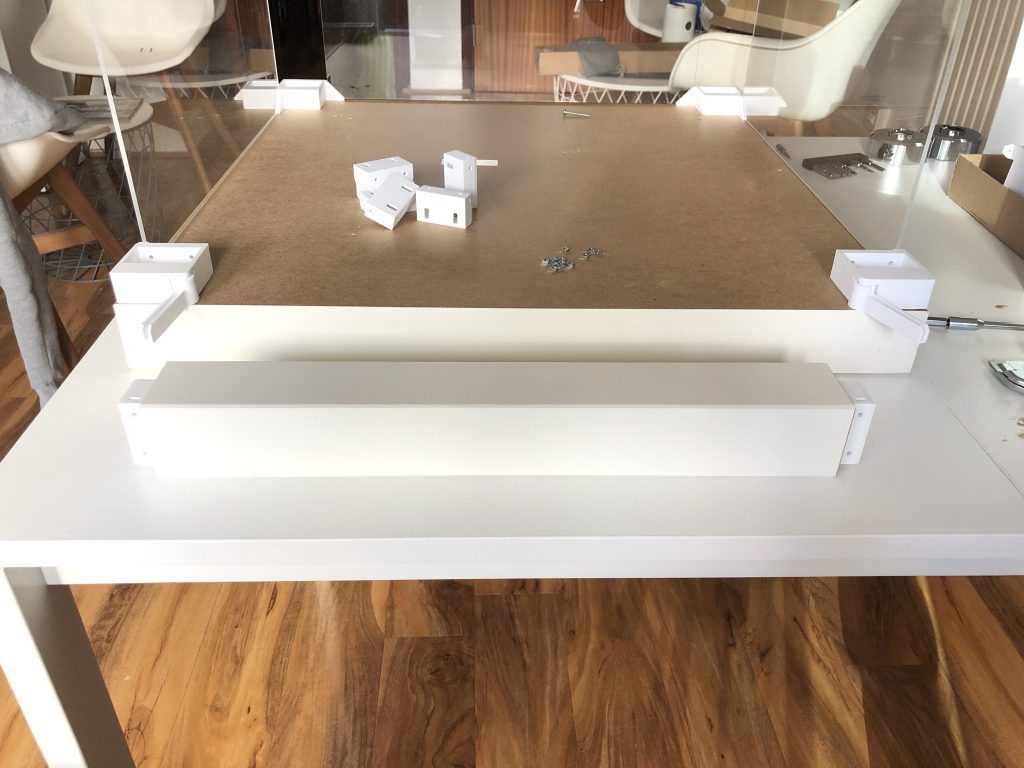
Mount the hidden joints to the both ends of the Ikea Lack Table Legs. Be sure that the holes are faced to the same direction as seen in the picture.
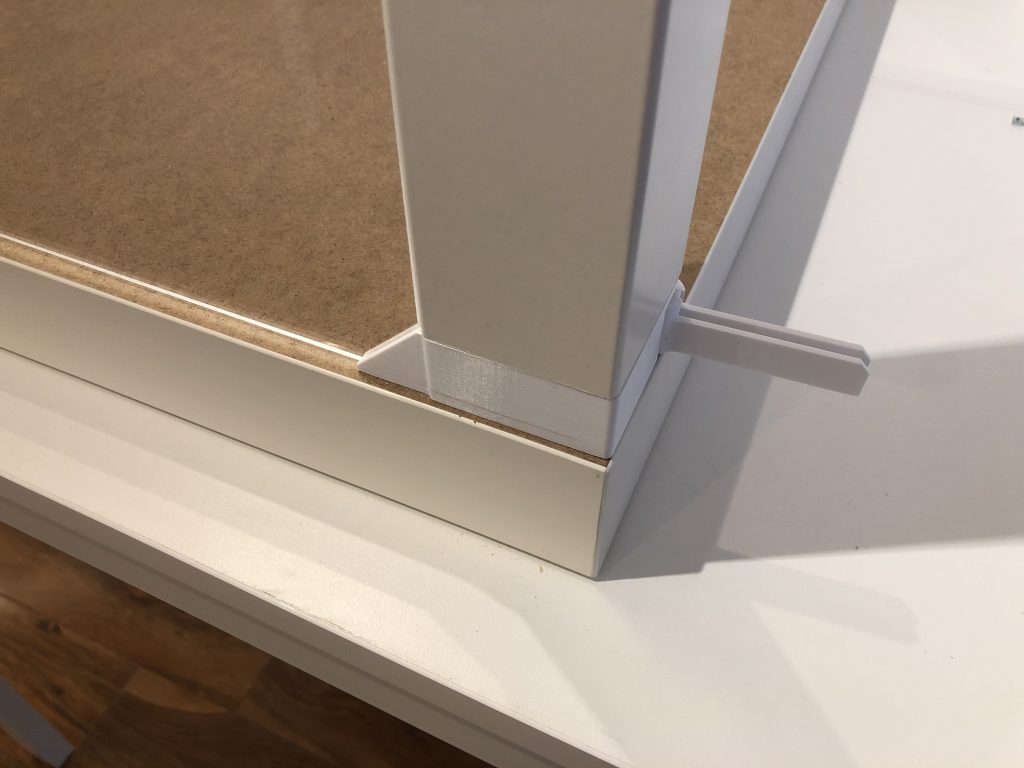
Insert the joint as seen in the picture and make smalle alignments by losening the joing screws if necessary. It shouldn’t be necessary if you managed to use the alignment tool as supposed.
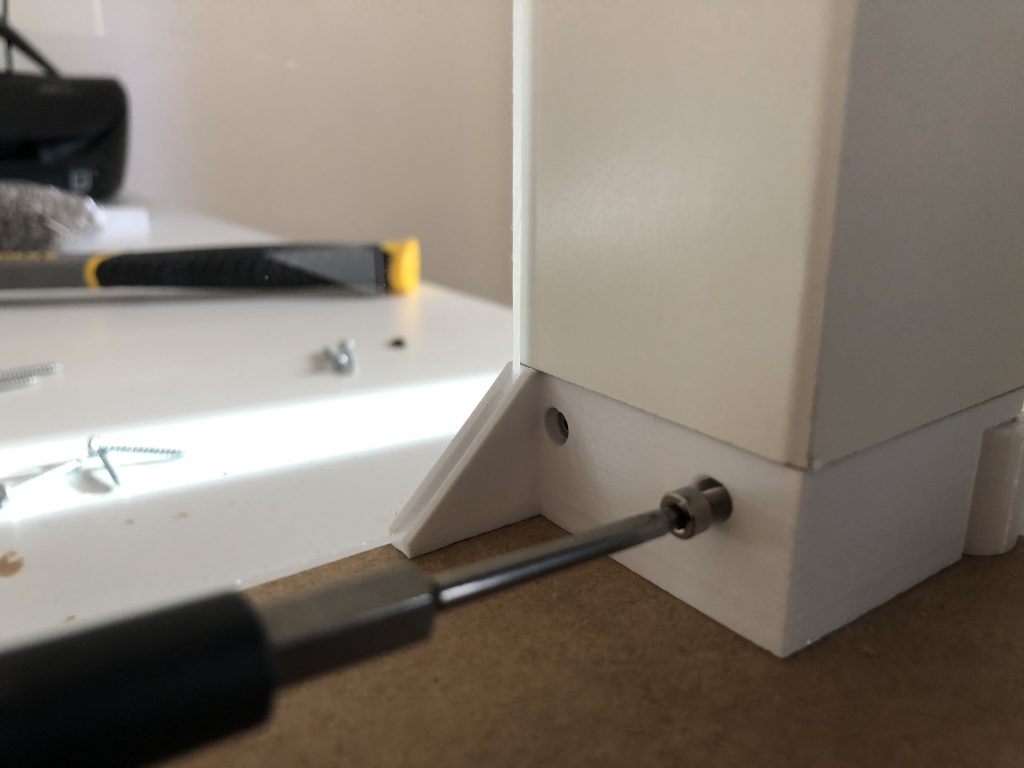
Use two M3x14 socket cap screws to fasten the leg to the table top.
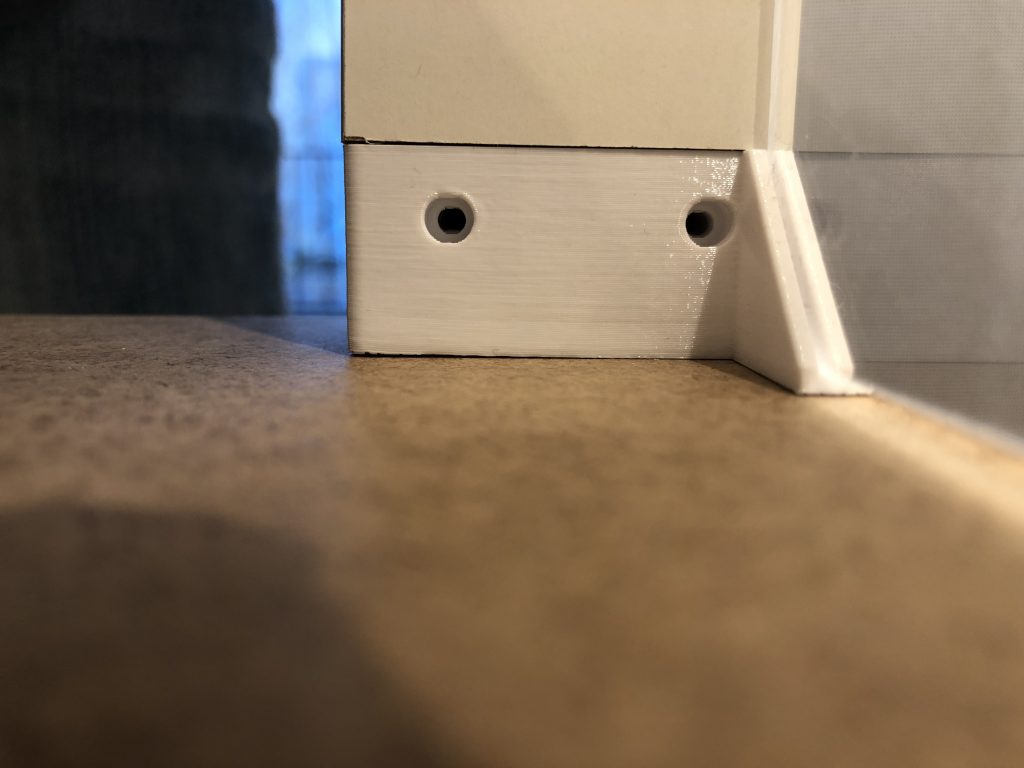
Do the same process for all legs. 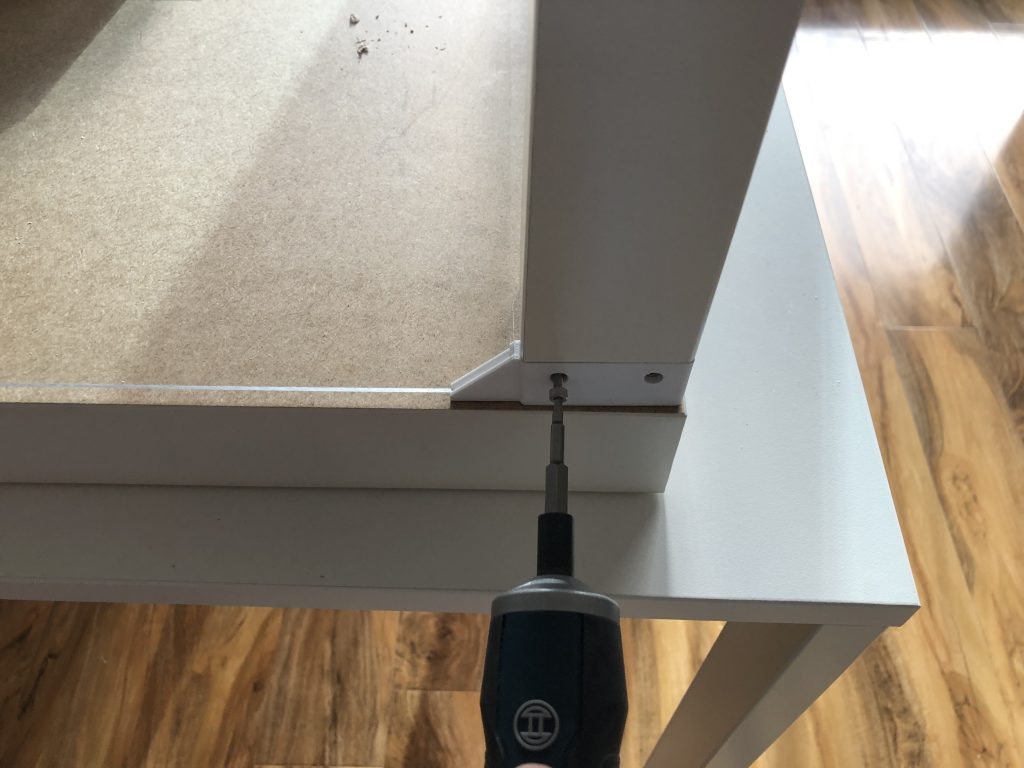
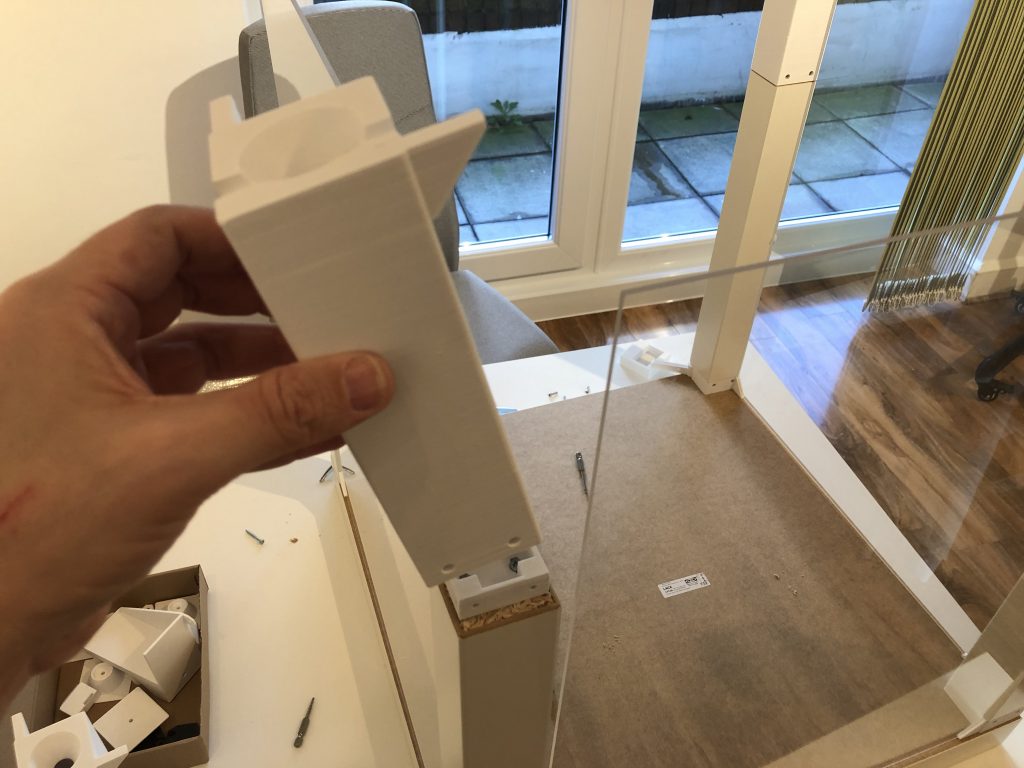
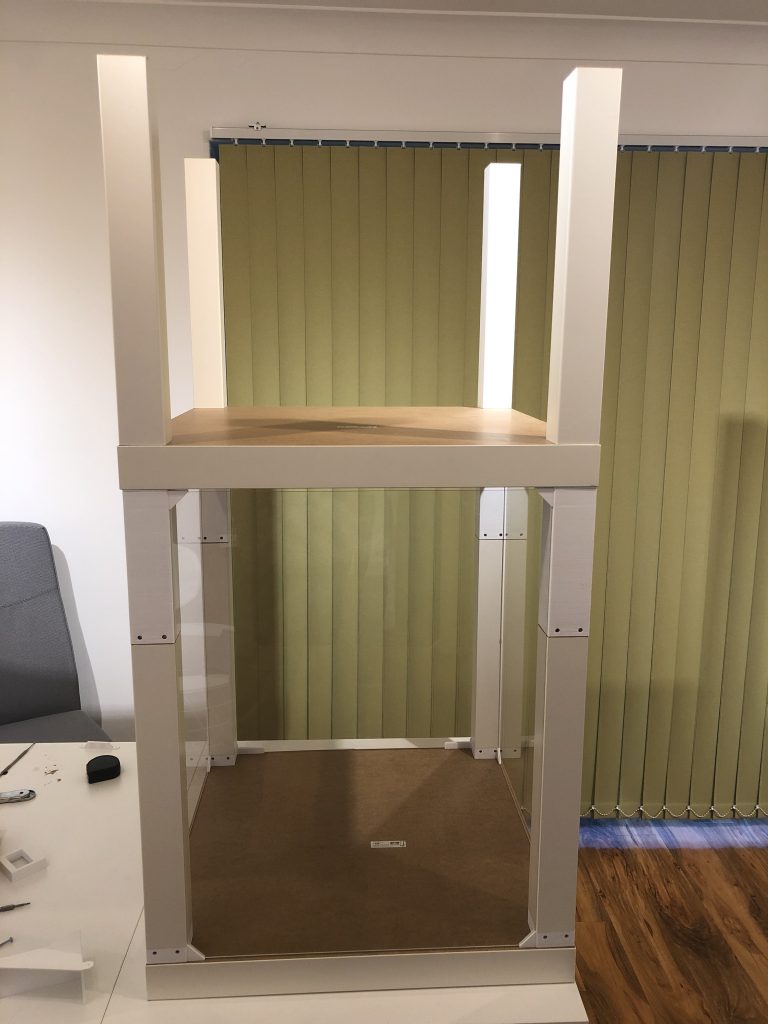
Now attach the extension legs and use M3 screws to fasten them to the legs. 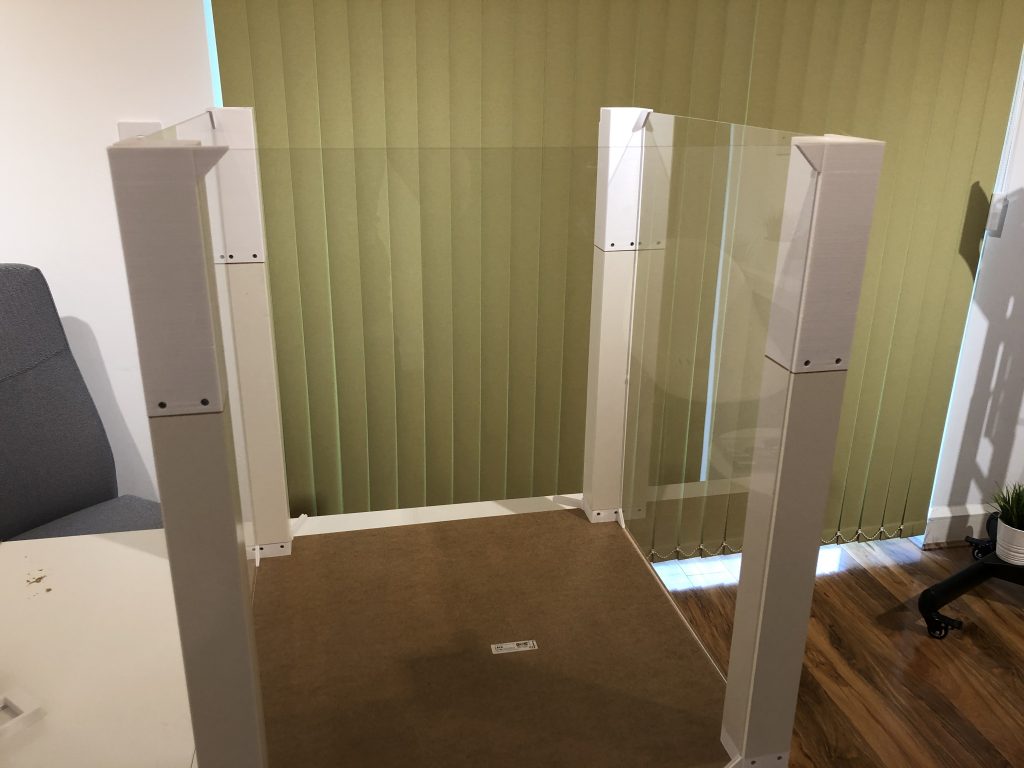
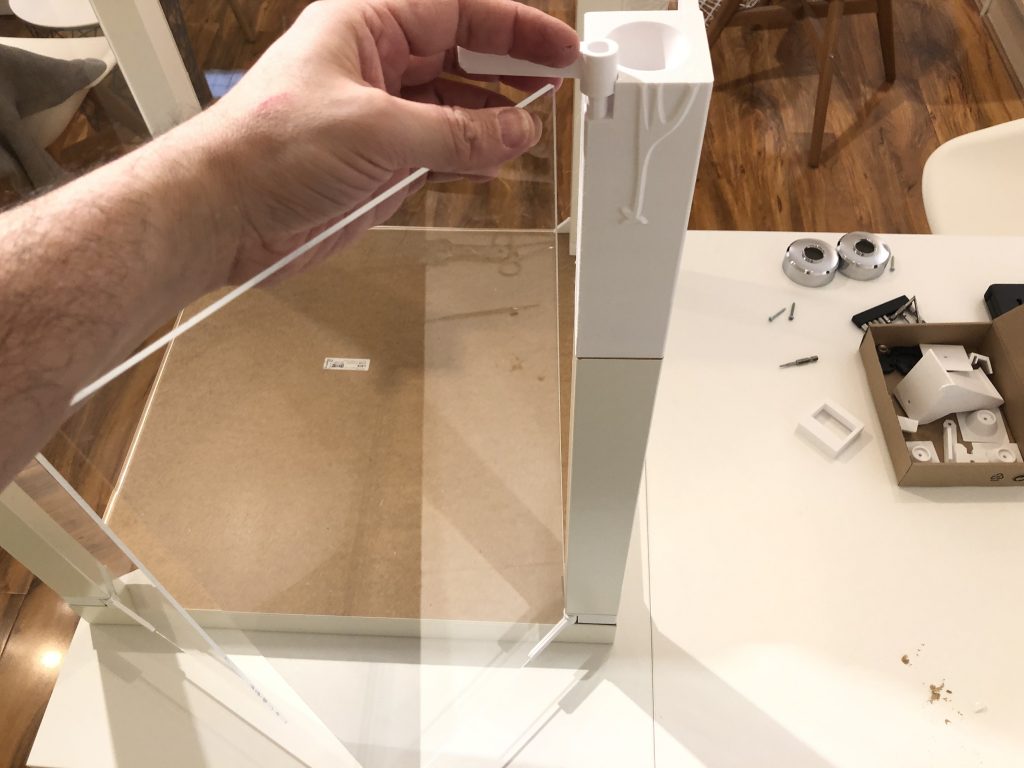
Put the front door plexiglasses in their places 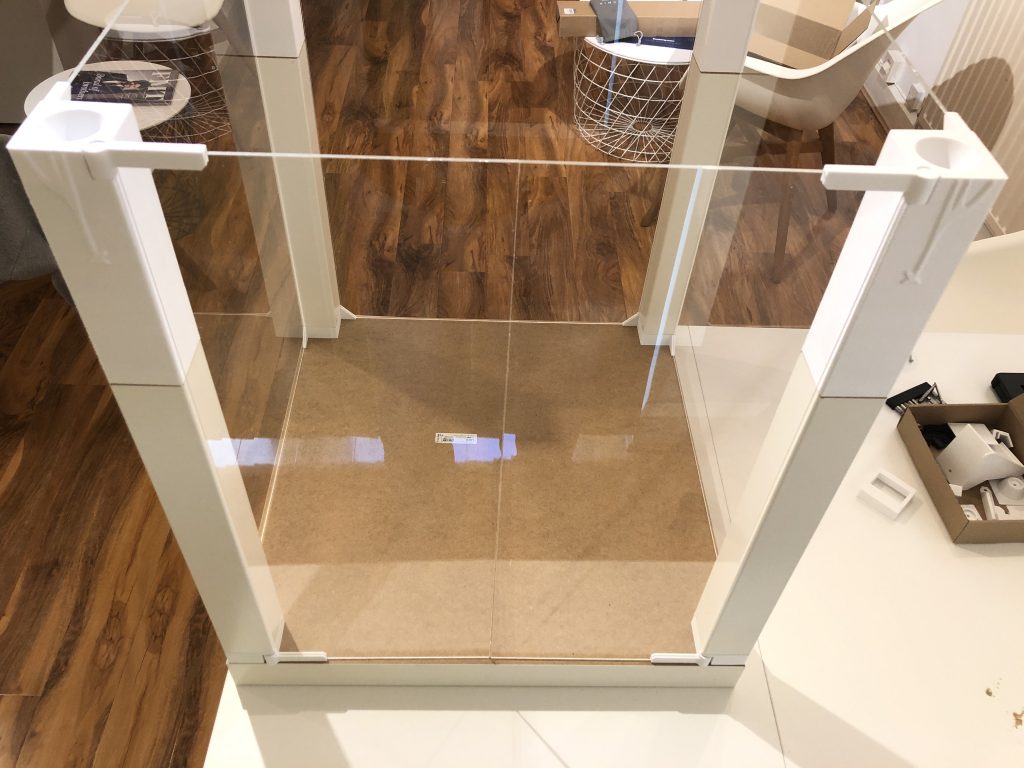
1 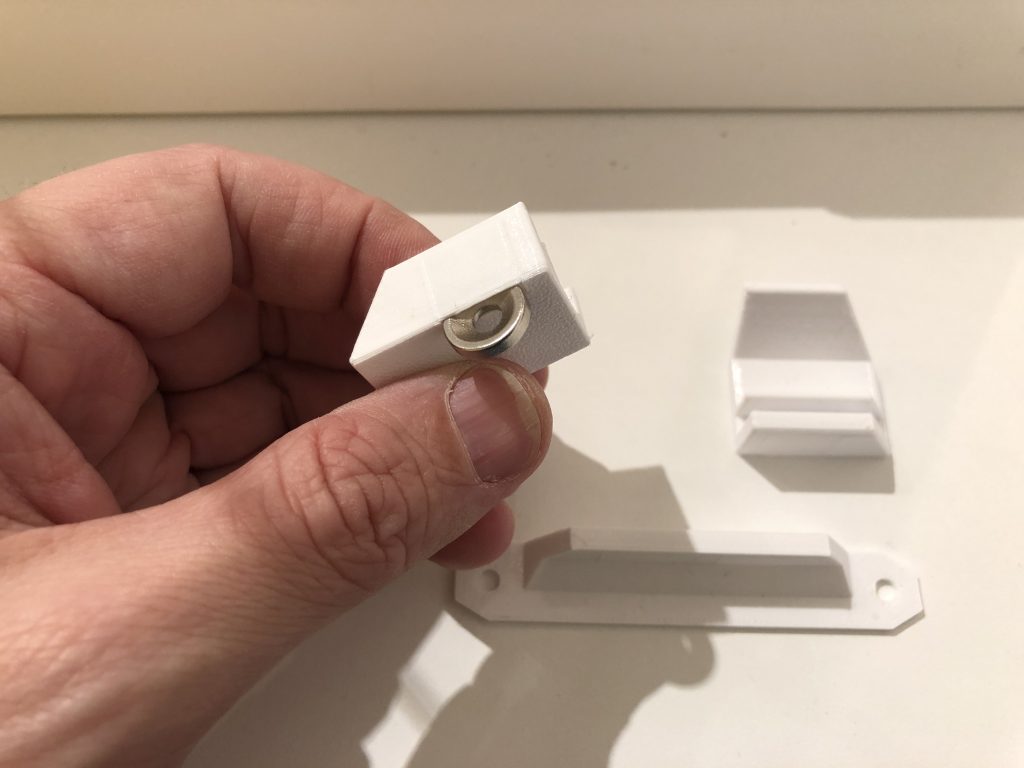
2 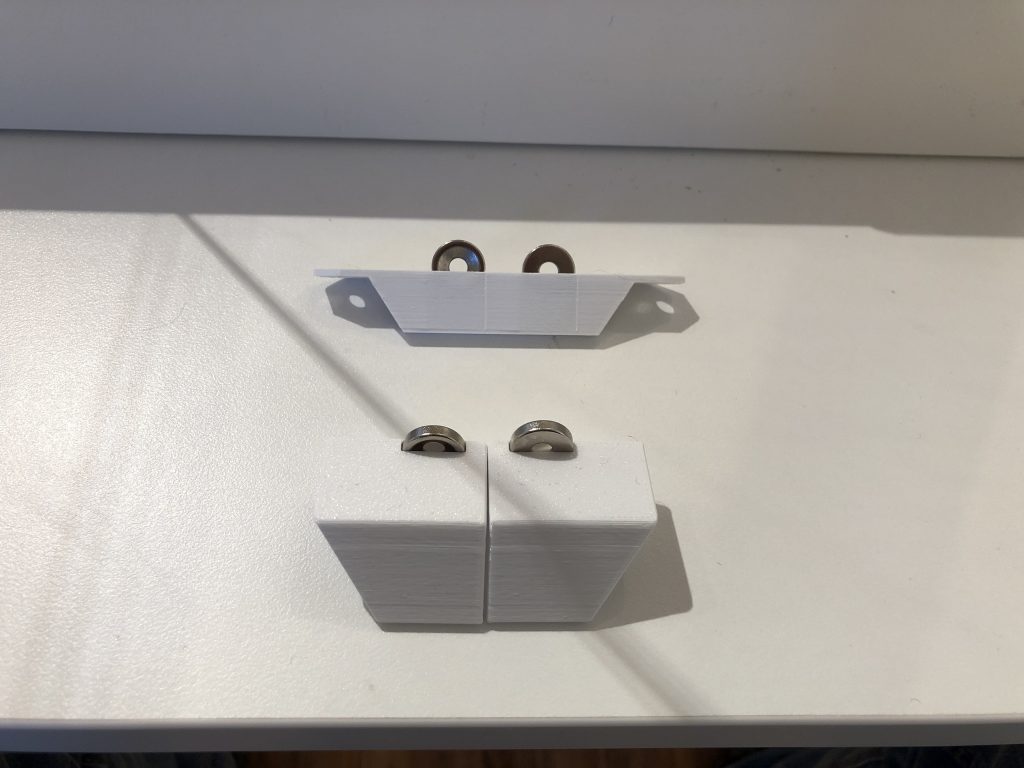
3 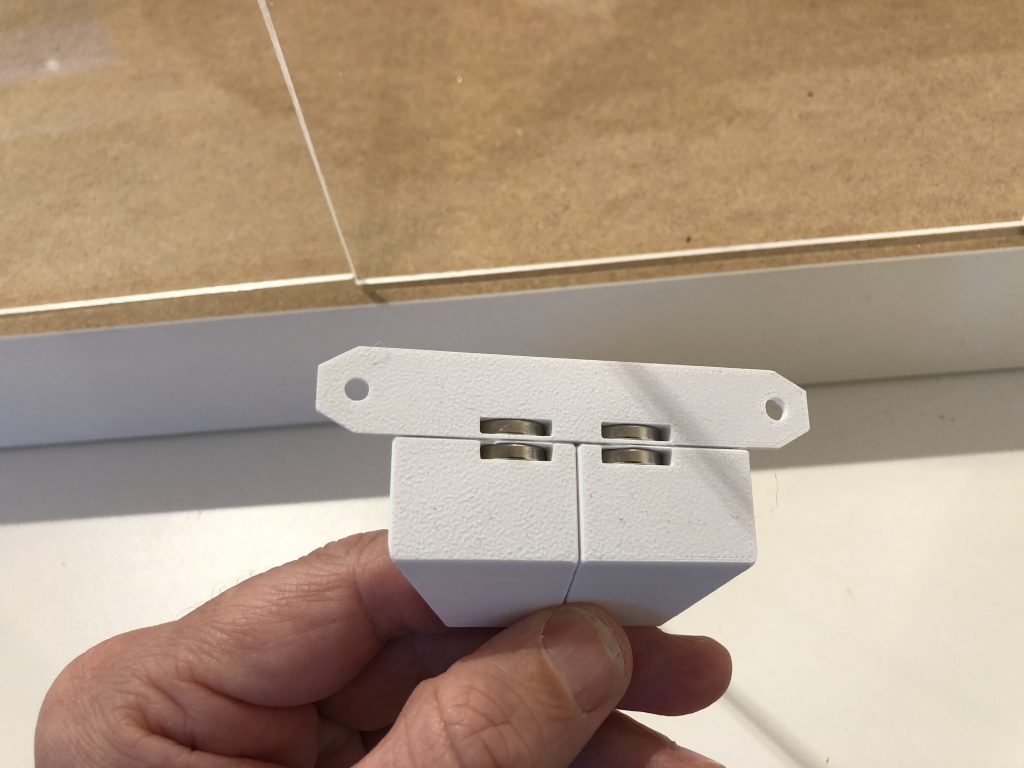
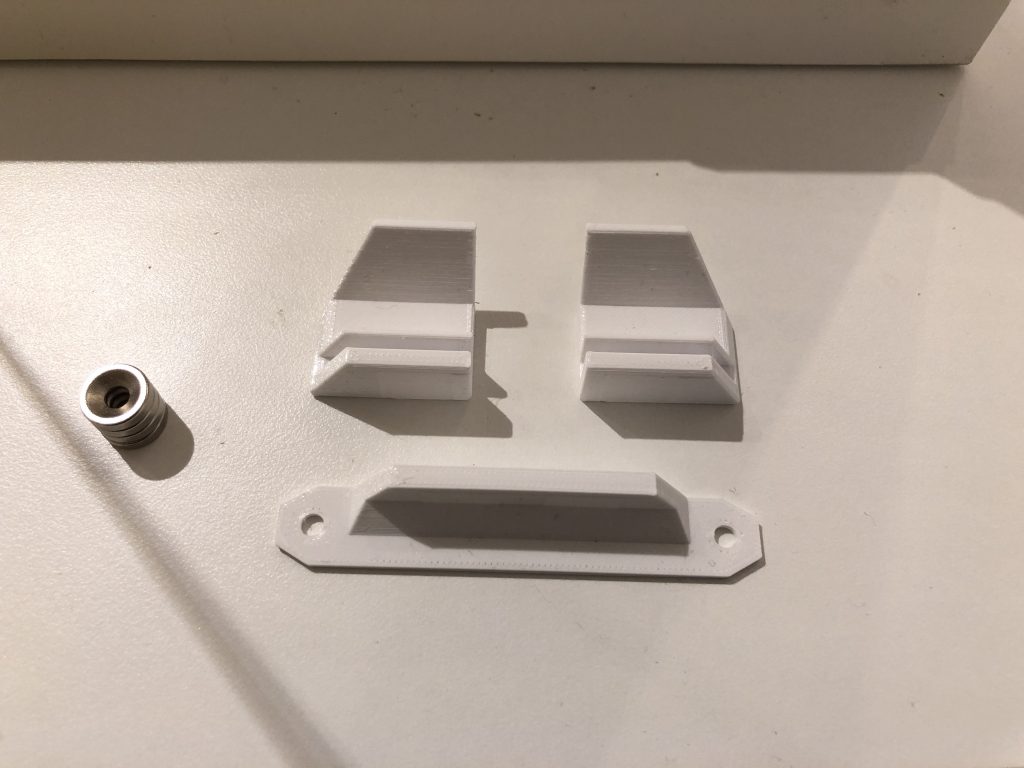
Install the magnets. Make sure that the magnets are attracted to each other. as these are disc magnets they are attracting or repelling on the sides as well. So if you turn backside to the front on one of the sides than the two doorknobs will attract each other which will help door alignment. (See the third image for the reverse direction of the magnets)
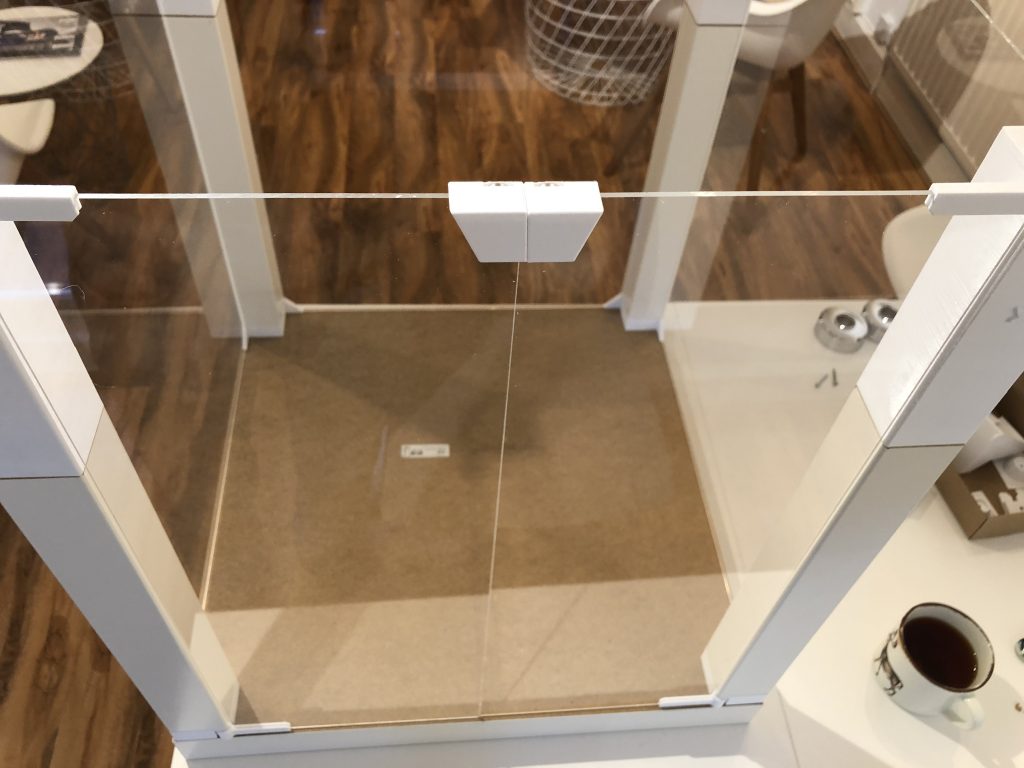
Install the door knobs
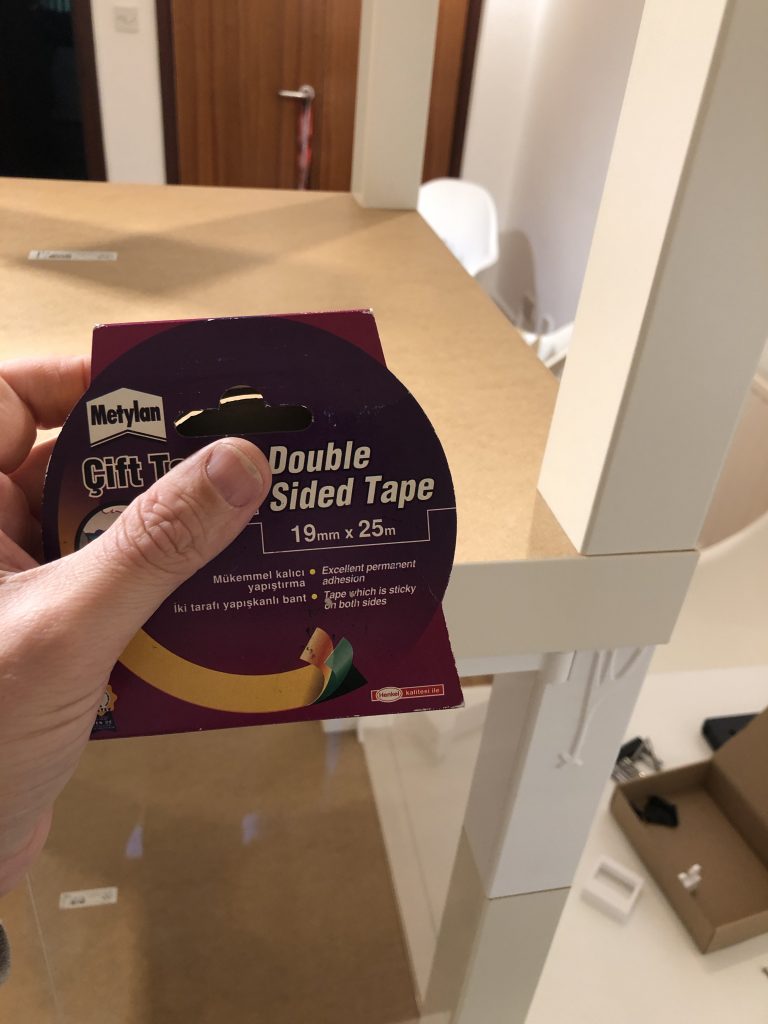
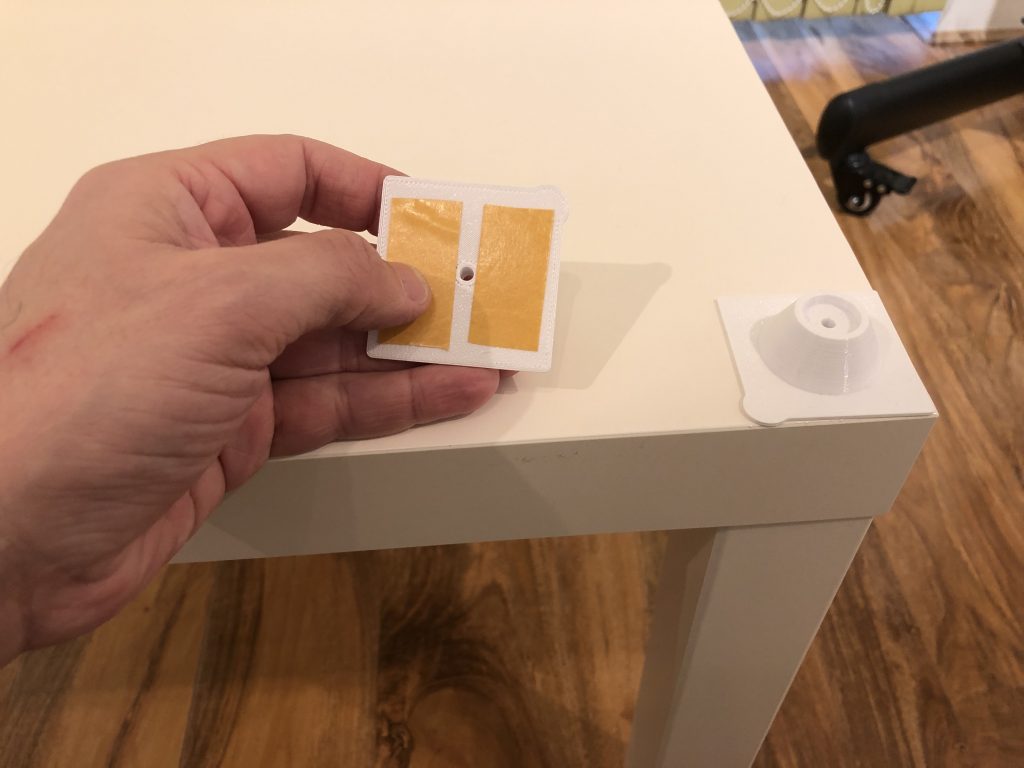
Use double sided tape 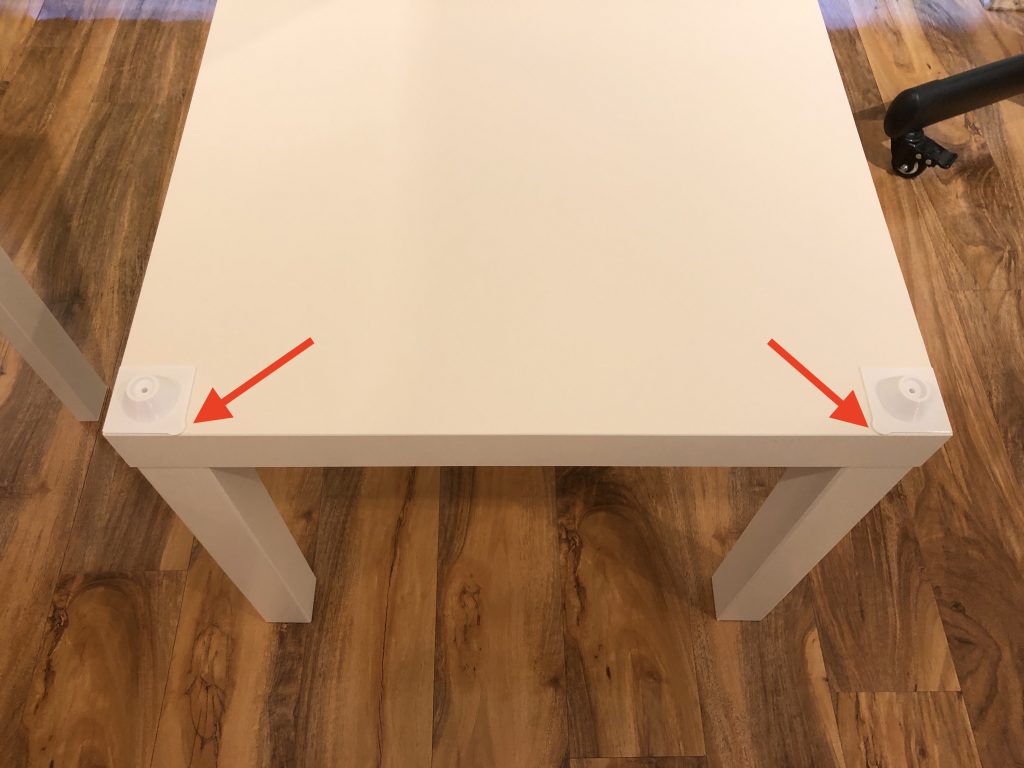
Ensure the hinges are on the front side 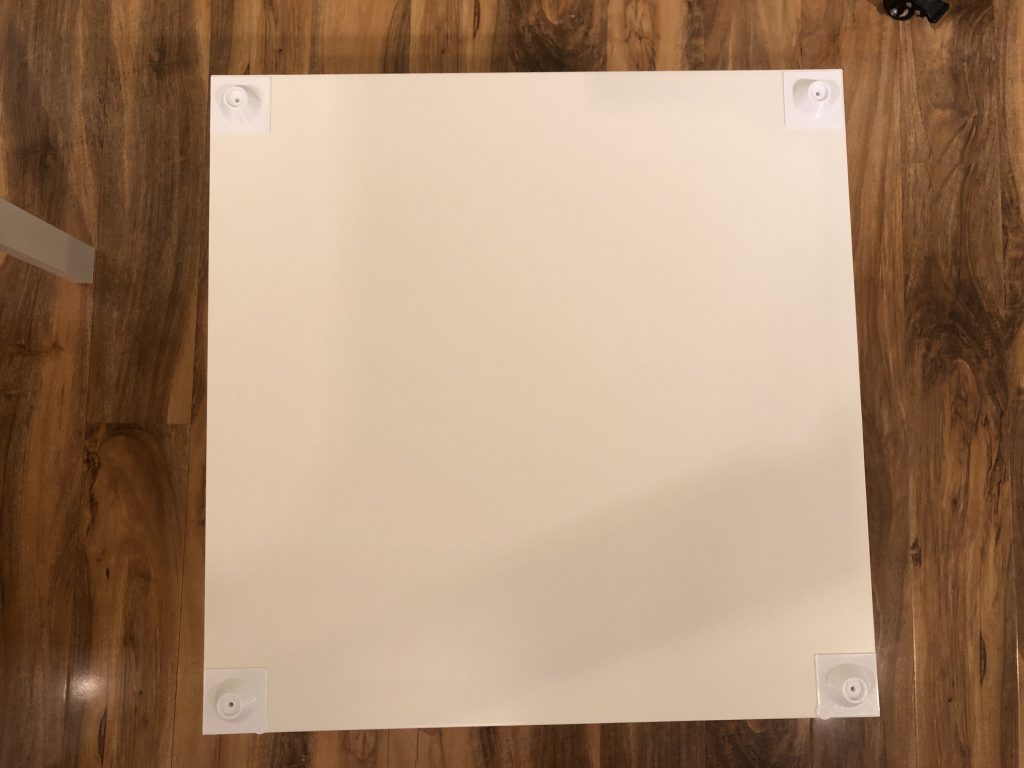
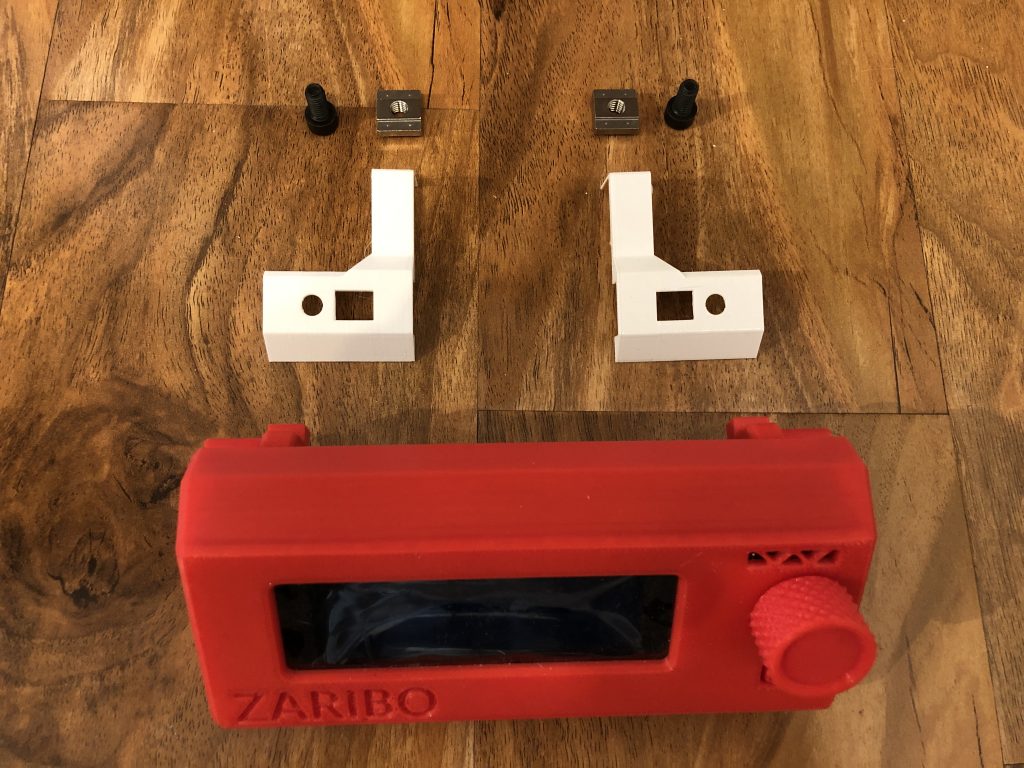
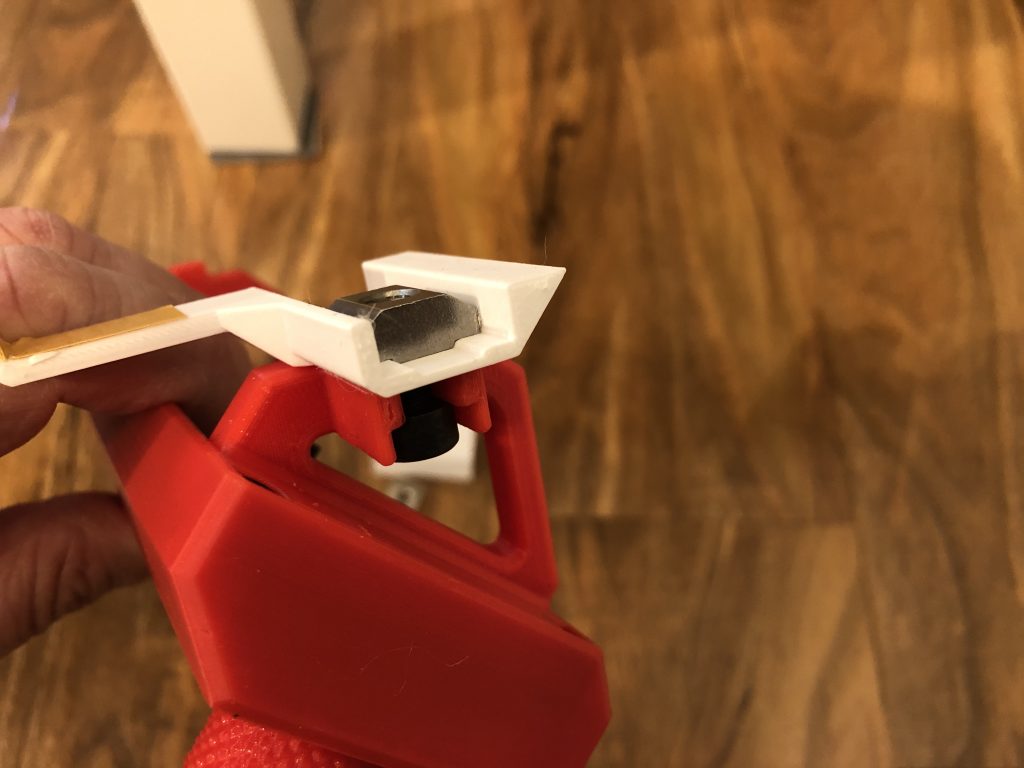
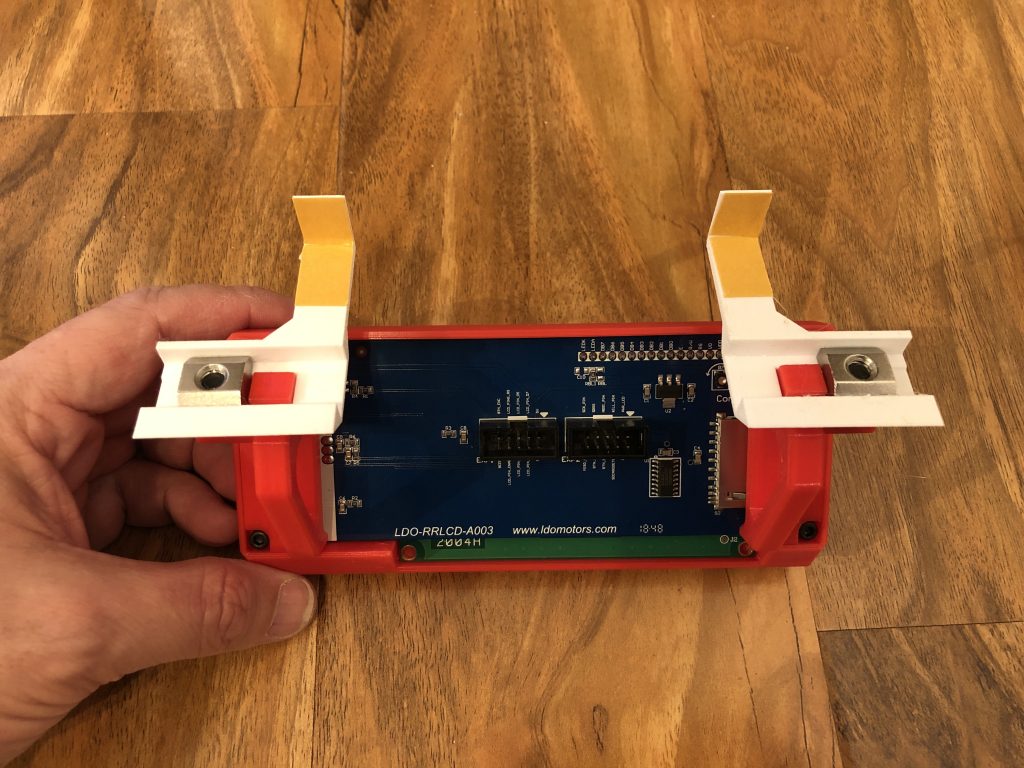
Use double sided tape 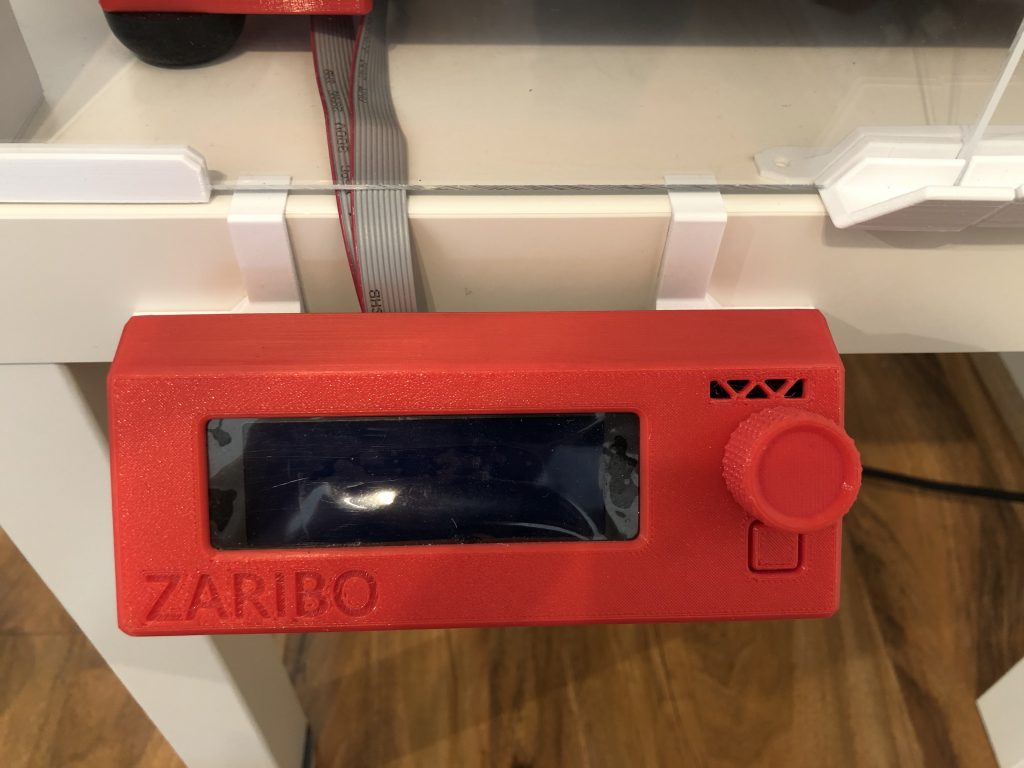
Stick it on the bottom table corner as seen in the picture.
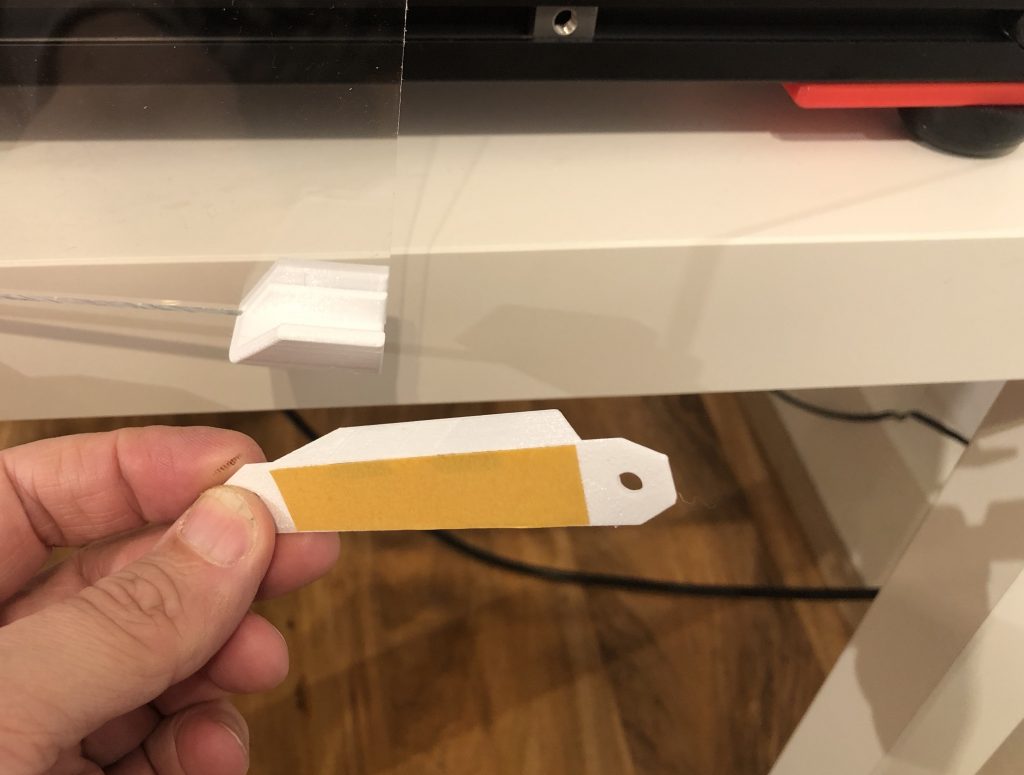
Use double sided tape 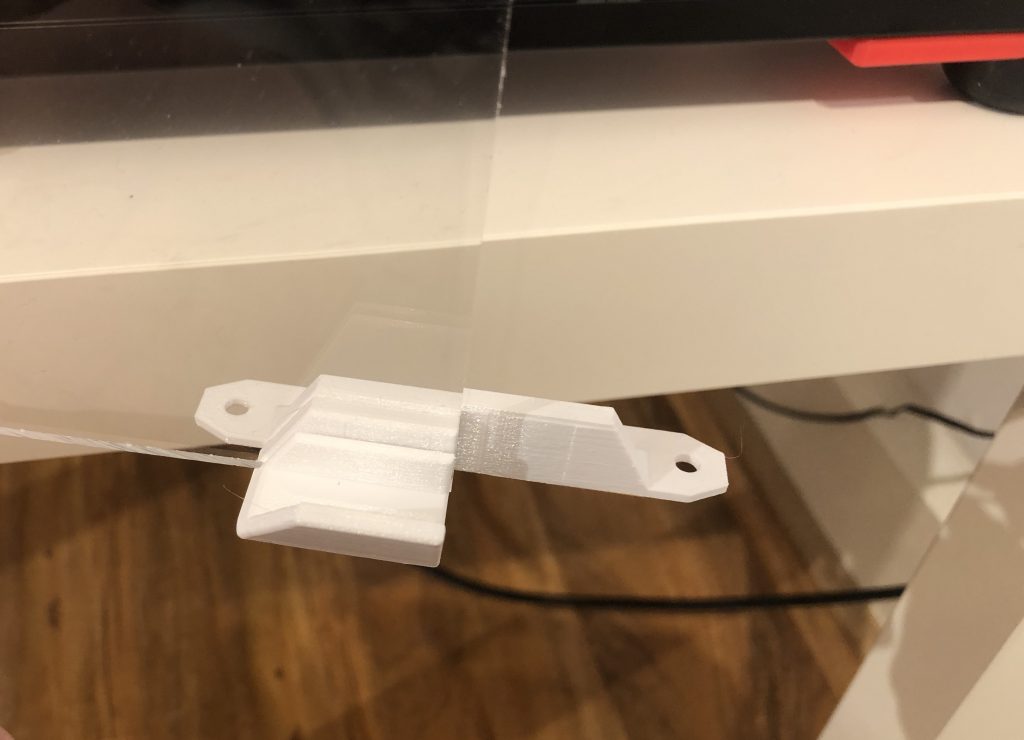
Align 2mm above in the air with magnets 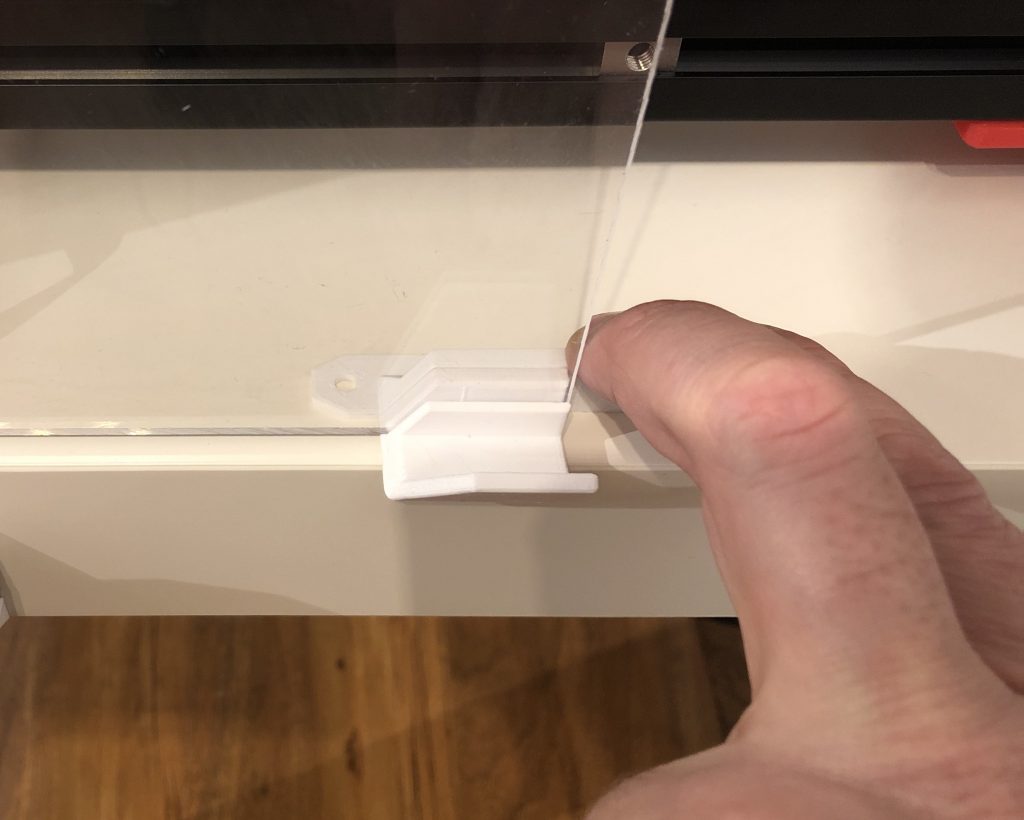
Press the stopper down 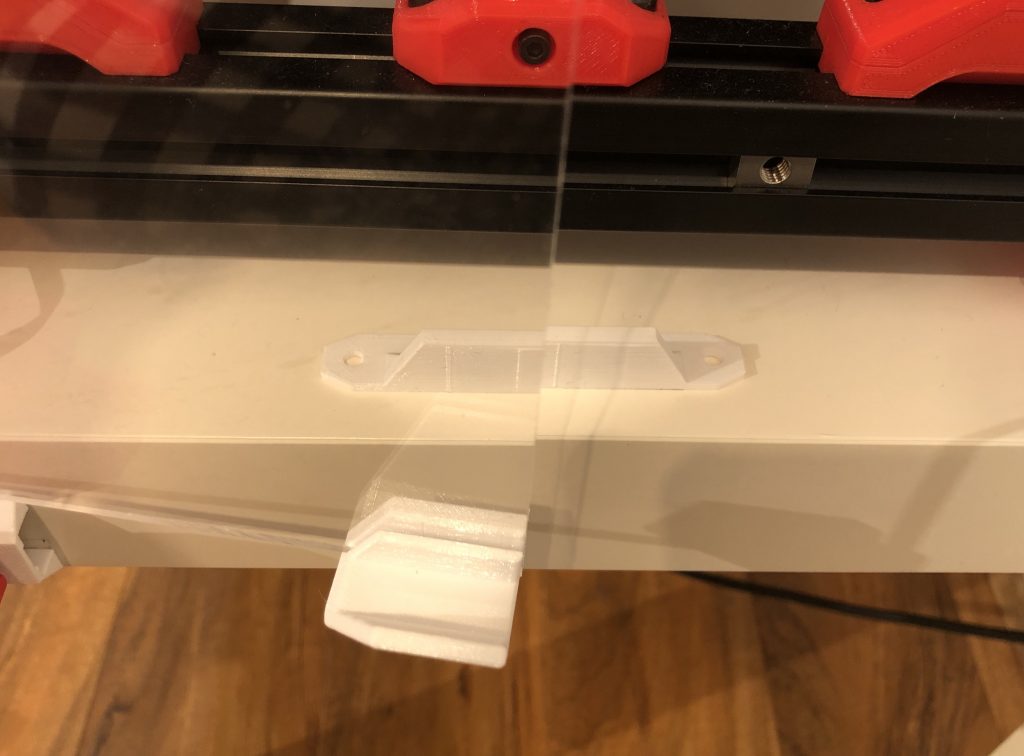
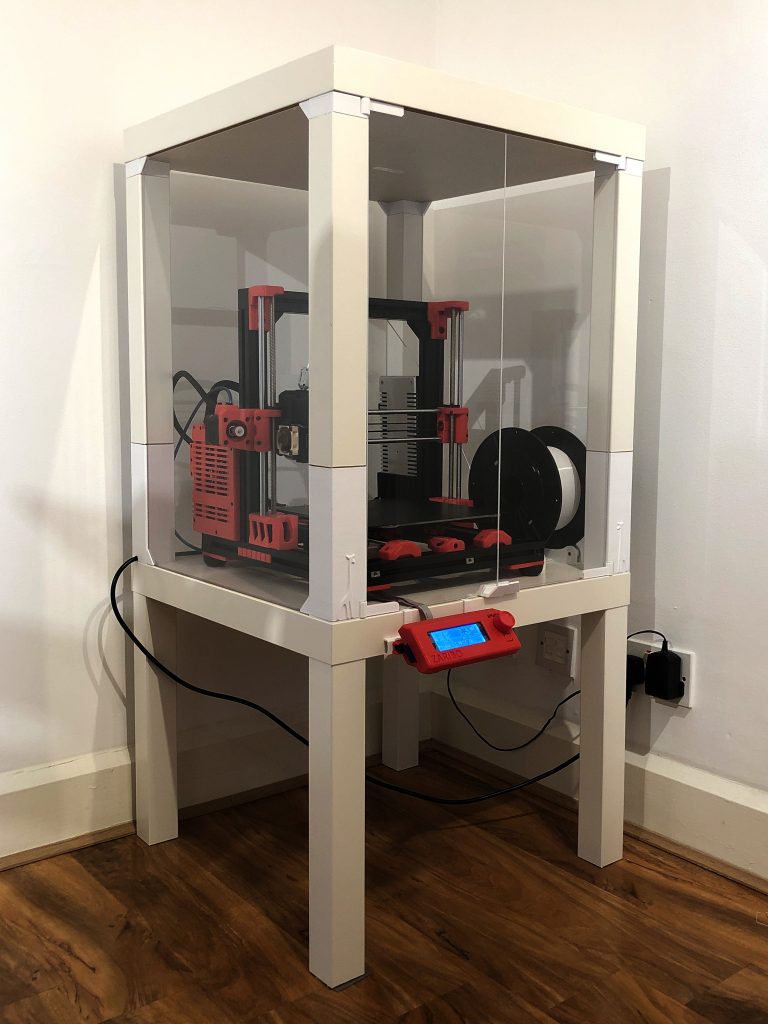
Happy Printing👽
Enjoy!
Murathan

Follow us
We will keep you updated
